Open it from Applications. It's signed and checked by Apple, so it opens normally.
Install on Windows
Download the setup.exe file (IT teams can use the .msi instead).
Run it. It installs for your Windows account only, so no administrator password is needed.
If Windows shows a blue "Windows protected your PC" box, check that the publisher is David Riley, then select More info → Run anyway.
Set up a new pharmacy
The welcome screen offers Set up a new pharmacy, Join an existing pharmacy or Restore a backup. A new pharmacy takes five short steps:
Your pharmacy: its name and what kind of pharmacy it is.
Set up the first admin (you): your name, an optional title and a password. A short phrase works well, like "blue vial cart 42".
Quick PIN (optional): 4 to 8 digits to sign back in quickly on this computer.
Rooms: keep, remove or add the rooms and storage areas.
Save the recovery kit: print it or save it as a PDF; it is one page with a code. Type the last group of the code to confirm it; encryption turns on then.
Keep the recovery kit locked away: the printed page in the safe, or the PDF on a USB drive kept in the safe or in a password manager, not on this computer. It opens your data on a new computer if this one is replaced. A getting-started checklist stays on the Dashboard until setup is done.
Bring in your inventory
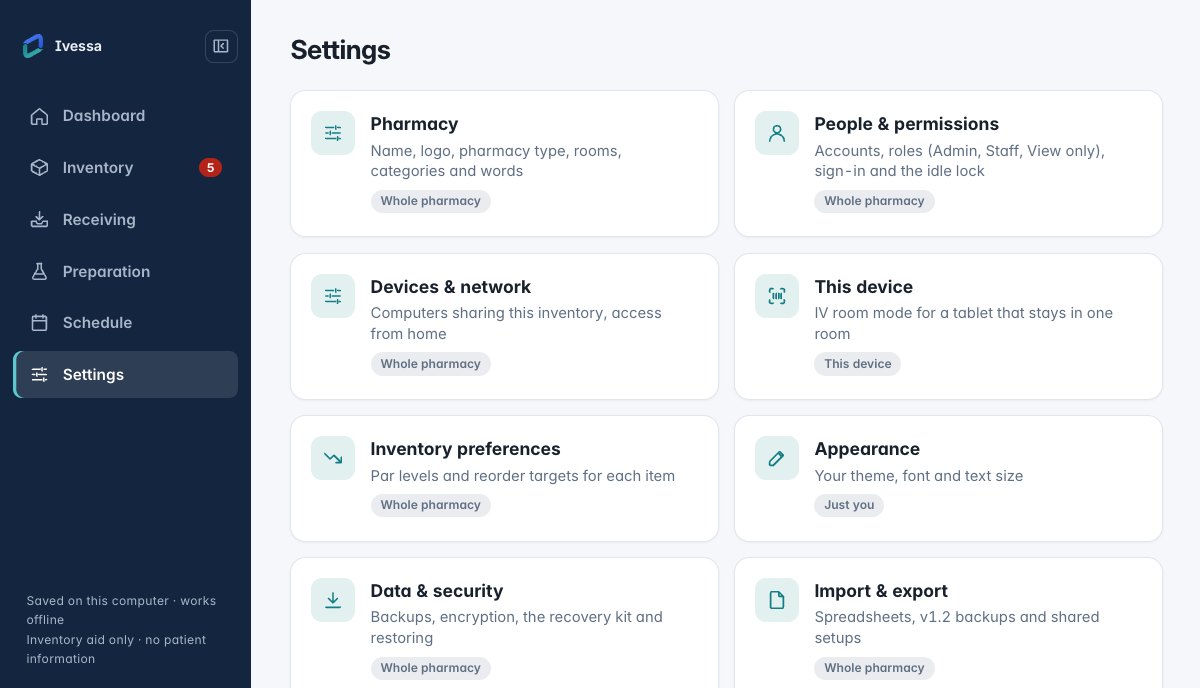
From Inventory Manager v1.2: Settings → Import & export → restore your v1.2 backup file. Every item, lot, order set and log entry comes across, and the counts are checked against the file.
From a spreadsheet: Settings → Import & export → Upload inventory CSV (a template is there to download). Only the item name is required.
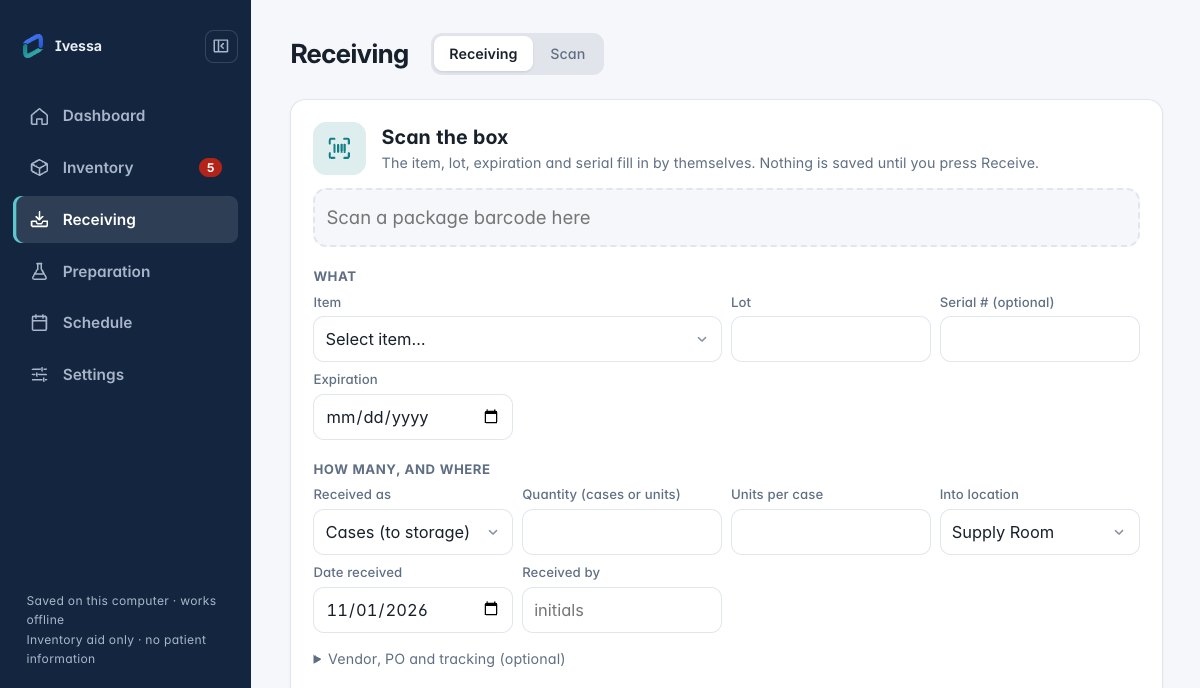
As you go: scan boxes in on the Receiving screen.
Join an existing pharmacy (a second computer or tablet)
On the main computer: Settings → Devices & network → Add a computer. It shows an 8-character code that works once, for 10 minutes.
On the new computer, choose Join an existing pharmacy on the welcome screen (or Settings → Devices & network → Join a main computer).
Pick the main computer from the list, or type its address, then type the code.
Sign in with your usual account. The menu shows "Shared with … · up to date".
No account is needed on a brand-new computer: the pharmacy's people and inventory come with it. If the computer already had data, it's saved as a safety copy first.
Receiving and inventory
Everyday tasks for technicians and pharmacists.
How to receive new stock
Open Receiving.
Scan the package, or search for the item.
Check the medication, lot and expiration the app read.
Enter the quantity and the storage room.
Review, then select Receive into inventory.
The stock quantity updates only after you confirm receiving. The receipt is logged under your name.
Take out or put back
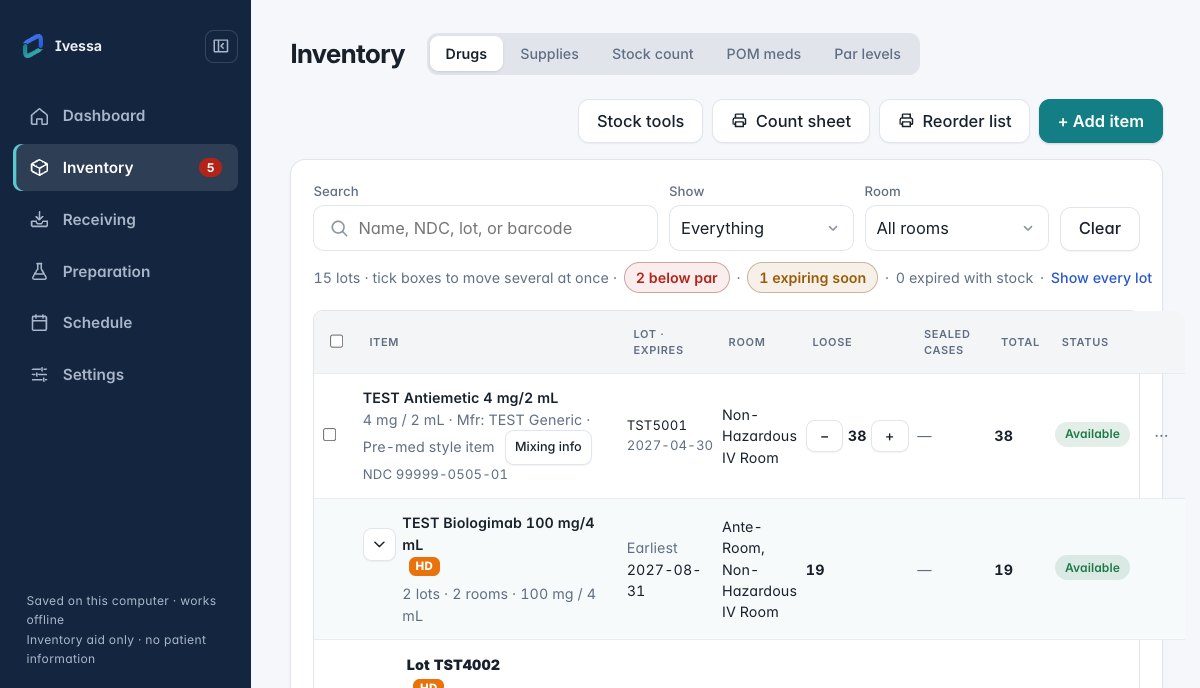
Open Inventory and find the item (search or scan).
Under the item, find the lot.
Select Take out or Put back and enter the amount.
A "Saved" message offers Undo for a few seconds if you picked the wrong lot.
Reorder what's running low
Set par levels in Inventory → Par levels (only for items you want to track).
On the Dashboard, select Reorder list.
Print it. It already counts what's scheduled on the calendar.
Patient's own medication
Open Inventory → POM meds.
Fill in Add patient's own medication with a tag or nickname, never the patient's name.
Mark it used or returned when it leaves.
Record a preparation
Open Preparation and pick an order set or a quick prep.
Check the items and lots it will use.
Select Record prep & deduct. The stock comes out on its own.
Stock counts and scanning
Counting rooms, setting up scanners and the IV room tablet.
Count a room
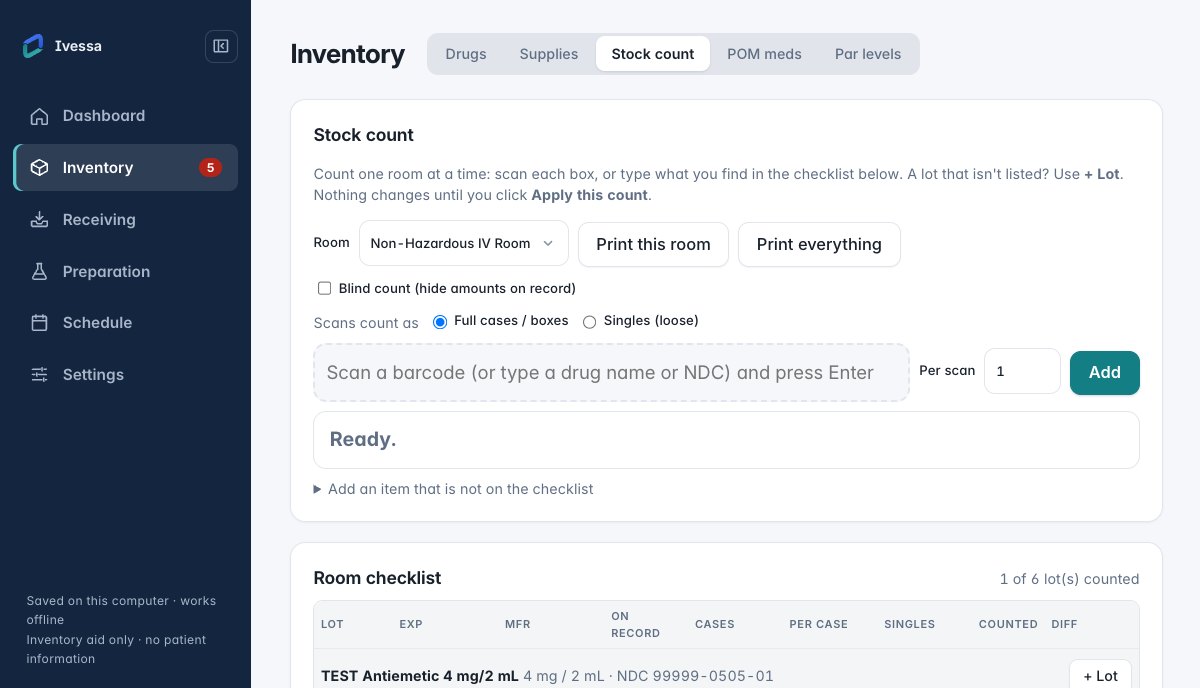
Open Inventory → Stock count.
Pick the room.
Scan each box on the shelves.
Review the differences, then select Apply this count.
Nothing changes until you apply the count.
Set up a barcode scanner
Use the scanner in keyboard mode (also called HID mode). Most USB and Bluetooth scanners work this way as they come.
USB: plug it in and wait for the computer to finish setting it up. Bluetooth: pair it in your computer's Bluetooth settings.
Turn on 2D / Data Matrix and the Enter (CR) suffix using the setup codes in the scanner's manual.
Test it in Receiving → Scan → Scanner setup. Test mode uses a sample catalog and never changes inventory.
IV room mode (a tablet that stays in one room)
Open Settings → This device and turn on IV room mode.
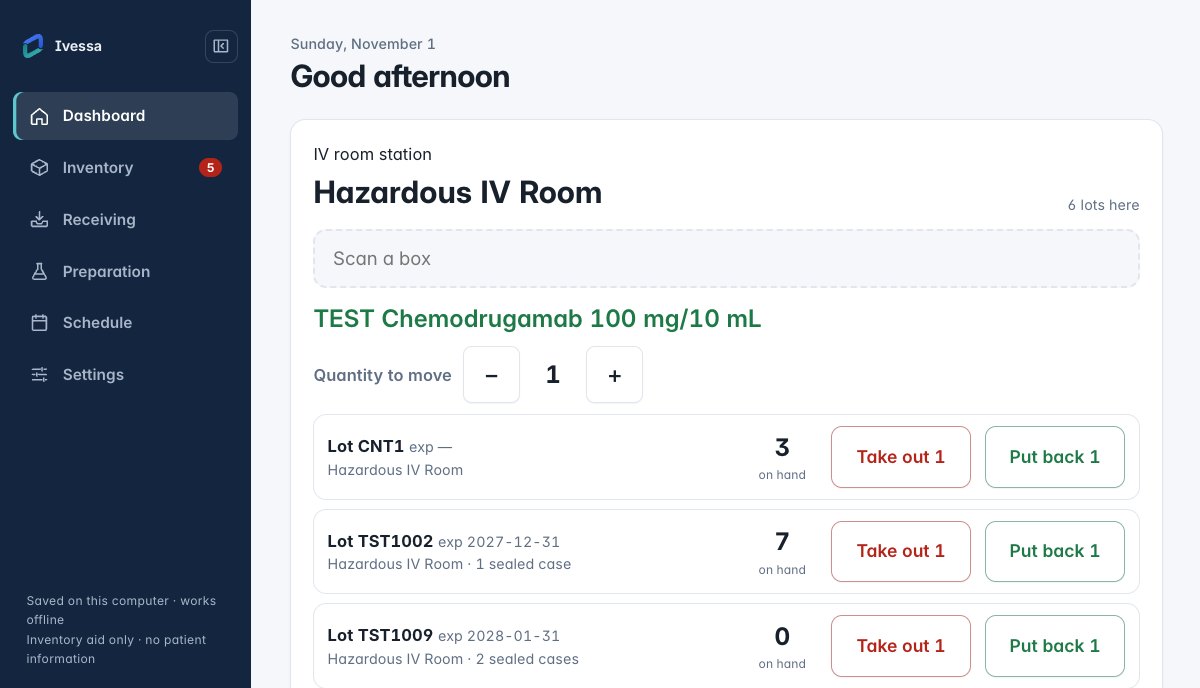
Pick the room. The Dashboard becomes a big scan box for that room.
Scan a box to see its lots, then take one out or put one back with the large buttons.
Count this room and Receive are one tap away. The Android app is planned; IV room mode works on any computer today.
Accounts and permissions
People, roles and signing in.
Add a person
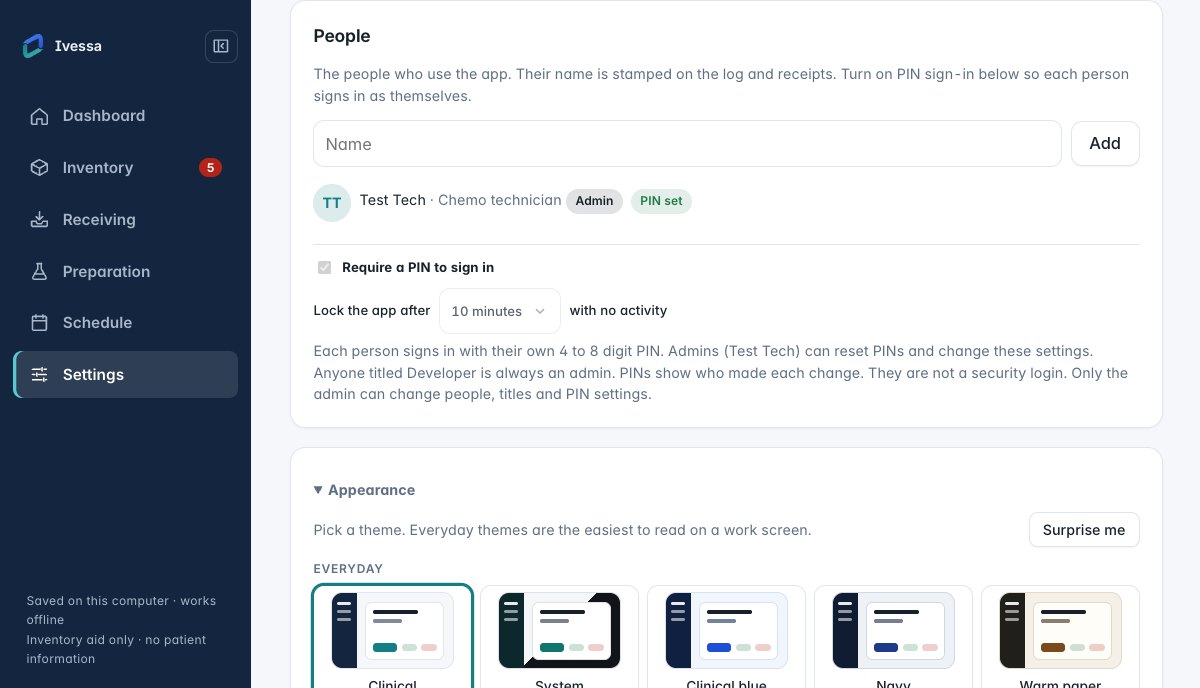
Open Settings → People & permissions (admins only).
Type the person's name and select Add.
Choose their role.
They make their own password the first time they sign in.
Roles
Role
Can do
Admin
Everything, including people, setup, backups and restoring.
Staff
Day-to-day work: receive, take out, count, prepare.
View only
Look, search and print. Can send an admin a change request.
Signing in, PINs and forgotten passwords
The app locks itself after a few idle minutes. Sign back in with your PIN or password.
Forgot a password? An admin can reset it.
If no admin can sign in, use the recovery kit on the sign-in screen.
Backups and recovery
Keeping a copy safe, restoring, and updates.
How backups work
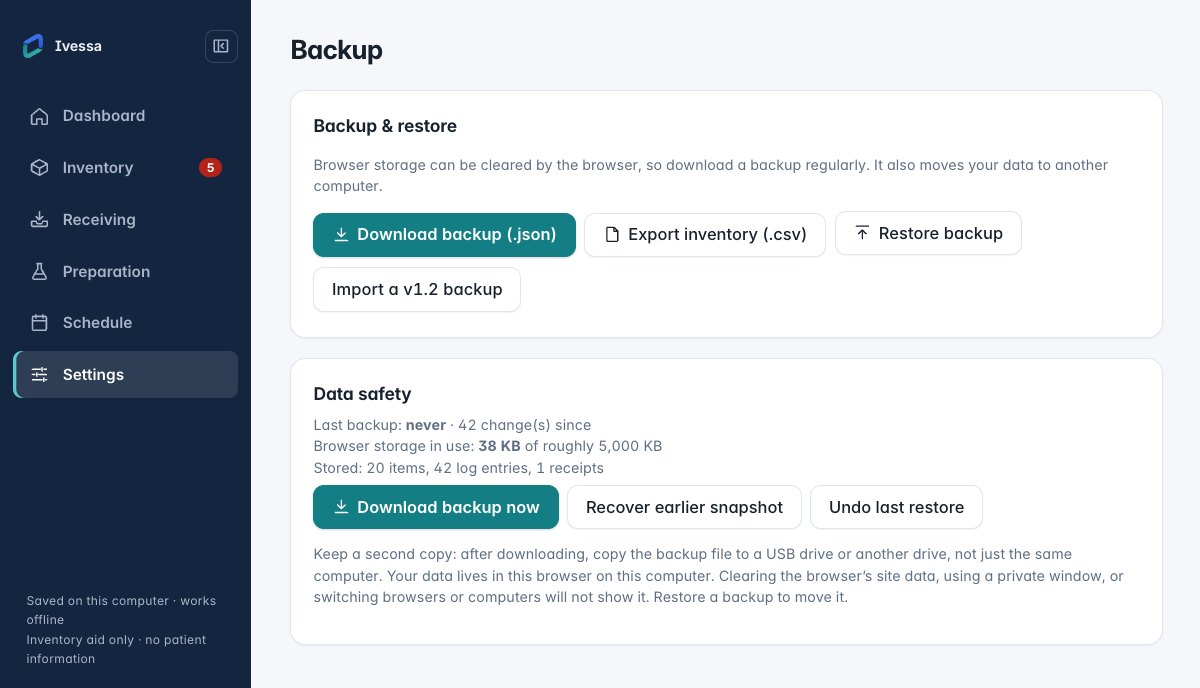
A backup is saved automatically every day, and a safety copy before any restore, import or update.
See them in Settings → Data & security.
Now and then, select Download backup and keep the copy somewhere other than this computer, such as a USB drive.
Backups are encrypted. The recovery kit opens them on another computer.
Restore a backup
Open Settings → Data & security (admins only, on the main computer).
Pick the backup to restore.
Confirm. A safety copy of the current data is saved first, so you can go back.
Updates
When an update is ready, the app says so.
Select it. The app saves a backup first, then installs and restarts.
For IT administrators
Ivessa holds no patient information and needs no internet access to work.
Installers and signing
macOS: .dmg for Apple silicon and Intel, signed and notarized by Apple.
Windows: 64-bit setup.exe (per-user install, no admin rights) or .msi, signed with publisher David Riley. The program is %LOCALAPPDATA%\Ivessa\Ivessa.exe for the per-user install.
Earlier name: before version 2.0.0-beta.8 the app was called Inventory Manager. Updating removes the old program copy and keeps all data; Windows asks once again to allow Ivessa through the firewall.
Each release lists SHA-256 checksums in SHA256SUMS.txt on the release page.
Network and firewall
What
Network
Notes
Sharing between pharmacy computers (optional)
TCP 47820 to the main computer, local network
Encrypted (Noise protocol: X25519, ChaCha20-Poly1305). Only computers paired with a one-time code are accepted.
Finding the main computer (optional)
UDP 47821 broadcast on the local subnet
If blocked, staff type the main computer's address instead.
Updates (optional)
Outgoing HTTPS (443) to github.com
Signed updates, checked against a key built into the app. If blocked, install new versions by hand.
Access from home (optional, off by default)
Outgoing HTTPS (443) to the pharmacy's own relay
End-to-end encrypted; the relay can't read anything. Only admins can change data from home.
On Windows, the main computer asks once to be allowed on the network. If staff can't approve it, allow the Ivessa program on TCP 47820 (and UDP 47821 if you like), limited to the pharmacy's computers. The network profile should be Private.
Data at rest: encrypted database (SQLCipher, AES-256). The key is kept in the macOS Keychain or Windows Credential Manager.
Accounts: each person signs in with their own password (stored as an Argon2id hash). Roles are checked again by the main computer.
Audit: every change, sign-in and pairing is in a tamper-evident log.
Joining and synchronization
One computer is the main computer; pick one that stays on during the day. Others join it with a one-time code (see Join an existing pharmacy).
Joined computers sync every few seconds. If the network drops, each keeps working and catches up when it's back.
Restoring backups and the recovery kit are done on the main computer.
Software and credits
Designed and developed by David Riley, a nationally certified pharmacy technician and chemotherapy technician manager.
Built with Tauri 2 (desktop and Android), an encrypted SQLite database (SQLCipher), the Noise protocol for sharing, and the Inter typeface (SIL Open Font License).
Development assistance: Claude (Anthropic) and ChatGPT (OpenAI), AI development assistants.
Troubleshooting
Start with what you see. If the checks don't fix it, ask your admin or IT.
Can't connect to the main computer
What you see
The menu says the main computer can't be reached, or a join keeps failing.
Check
The main computer is on and Ivessa is open on it.
Both computers are on the pharmacy's network (not guest Wi-Fi).
On Windows, the network is set to Private.
If it isn't found in the list, type the main computer's address instead.
Expected
The menu shows "Shared with … · up to date". Changes made meanwhile waited safely and are sent now.
Ask IT if
It still can't connect: the firewall may need to allow Ivessa on TCP 47820 (see Network and firewall).
A barcode isn't recognized
What you see
Scanning does nothing, types odd characters, or the code is flagged for review.
Check
The scan box has the cursor in it.
The scanner is in keyboard (HID) mode with an Enter suffix.
2D / Data Matrix is turned on for drug boxes.
Try it in Receiving → Scan → Scanner setup.
Expected
The scan shows the NDC, lot and expiration. If a code is still unknown, search for the item by name or NDC instead.
Ask your admin if
The item isn't in the inventory yet, or flagged codes keep piling up.
The recovery code is requested
What you see
"The data is encrypted. Type the recovery code".
Check
This happens when a computer doesn't have the key yet, for example a new computer or a Windows reinstall.
Find the recovery kit (the printed page or the saved PDF).
Type its code exactly as printed.
Expected
The data opens and the key is saved on this computer again.
Ask your admin if
The kit can't be found. Don't guess repeatedly; the data stays safe until the right code is entered.
Inventory isn't updating on another computer
What you see
A change made on one computer doesn't show on another.
Check
Look at the sharing status in the menu on both computers.
Make sure both are joined to the same main computer (Settings → Devices & network).
Wait a few seconds; joined computers sync every few seconds.
From home, only admins can make changes.
Expected
Both show "up to date" and the same quantities.
Ask IT if
One computer stays "can't reach" while the other is fine.
An update didn't finish
What you see
The app didn't restart after an update, or shows the old version.
Check
Close and open Ivessa again.
Check the version in Settings → About.
If it's still old, download the installer from the release page and run it over the current version.
Expected
The new version opens with your data. A backup was saved before the update began.
Ask IT if
Updates are blocked on your network (outgoing HTTPS to github.com).
Something looks wrong after a restore or import
Check
Open Settings → Data & security. The safety copy from just before it can be restored.
 Ivessa